Imagine walking into a tech store, ready to upgrade your phone, and being hit with a price tag north of $1,200 for a flagship device. Your wallet shrinks in terror, yet you also dread the thought of buying a cheap $150 budget phone that jitters every time you open a basic navigation app or take a casual photo. The sweet spot you are looking for isn’t an urban legend—it is a fiercely competitive battleground.
Over my past ten years deploying mobile hardware infrastructure and assessing digital wellness tools, I have watched the lines between premium luxury and everyday value completely blur. In 2026, you no longer need to sign away a massive monthly payment plan just to get access to top-tier daily performance.
Having torn down, performance-tested, and audited dozens of silicon architectures over the decade, my hands-on experience tells me that modern mid range smartphones are the smartest financial investments in tech right now. Let’s look beneath the glossy marketing brochures and find out exactly how to get flagship-level power without paying the flagship tax.
Decoding the Engine: How Mid-Tier Silicon Outsmarts the Price Tag
To understand why these mid-tier devices have become incredibly capable, we need to understand how chip manufacturers build modern mobile processors. Let’s use a straightforward food analogy.
💡 The Michelin-Star Kitchen Analogy
Think of a top-of-the-line $1,200 ultra-flagship smartphone as an elite, Michelin-starred kitchen staffed by 20 specialized chefs. It is amazing, but it is also massive overkill if you just want a perfectly cooked, delicious meal. A modern mid range smartphone is like a highly efficient boutique bistro—it uses fewer chefs, but they utilize the exact same high-quality ingredients and modern cooking techniques to deliver an exceptional dish for a fraction of the cost.
The silicon chips driving today’s mid-tier market are built on the exact same 4-nanometer (4nm) or 5-nanometer (5nm) manufacturing nodes that elite flagships used just a cycle ago. This means they run cool, sip battery power efficiently, and handle intensive tasks like real-time computational photography and heavy multitasking without breaking a sweat.
The Essential Evaluation Checklist: What Specs Actually Matter?
When shopping for mid range smartphones, brands love to dazzle you with huge numbers that don’t always translate to a better daily experience. When you are looking at options, focus your attention on these crucial pillars.
1. Display Quality: Demand Fluidity
Do not settle for a basic 60Hz refresh rate. In 2026, the absolute baseline for a high-quality mid-tier phone is a 120Hz AMOLED display. This spec ensures that scrolling through your social feeds, reading long documents, and navigating UI menus feels buttery smooth, dramatically reducing eye strain during extended use.
2. The Internal Memory Sweet Spot
Many manufacturers try to cut corners by offering 6GB of RAM in their baseline models. To keep your device future-proof for the next three to four years, look for a minimum configuration of 8GB of LPDDR5 RAM paired with 256GB of UFS 3.1 storage. This ensures your operating system has plenty of room to process background data layers smoothly.
3. Charging Standards and Battery Chemistry
A huge battery capacity is great, but how fast can it recover? Look for devices offering at least 45W to 67W fast charging protocols. Having the ability to boost your phone from 0% to 50% in under fifteen minutes completely changes how you interact with your device throughout a busy workday.
The Smart Trade-Offs: What You Give Up (And Why It’s Okay)
To drop the retail price down to a sensible range, manufacturers must make intentional design choices. Understanding these trade-offs is the key to shopping smart.
-
Plastic vs. Premium Glass Alloys: You might find high-grade polycarbonate frames instead of titanium or frosted Gorilla Glass. Put a protective case on it, and this difference disappears completely.
-
Telephoto Zoom Lenses: Flagships pride themselves on 10x or 100x digital zoom functions. Mid-tier phones usually stick to a high-quality main sensor and an ultra-wide lens, skipping the expensive periscope zoom mechanics.
-
Basic Wireless Charging: While fast wired charging is standard, ultra-fast wireless charging coils are often removed to save physical space and production budget.
Pro Tips and Hidden Pitfalls to Avoid
💡 Pro Tip: Prioritize the Software Update Commitment
Hardware is only half the battle. A phone with incredible internal specs is useless if the manufacturer abandons its software support after twelve months. Always verify the brand’s commitment to Android OS upgrades and security patches. Look for brands offering a minimum of 3 to 4 years of security coverage so your banking apps and data vectors remain protected long-term.
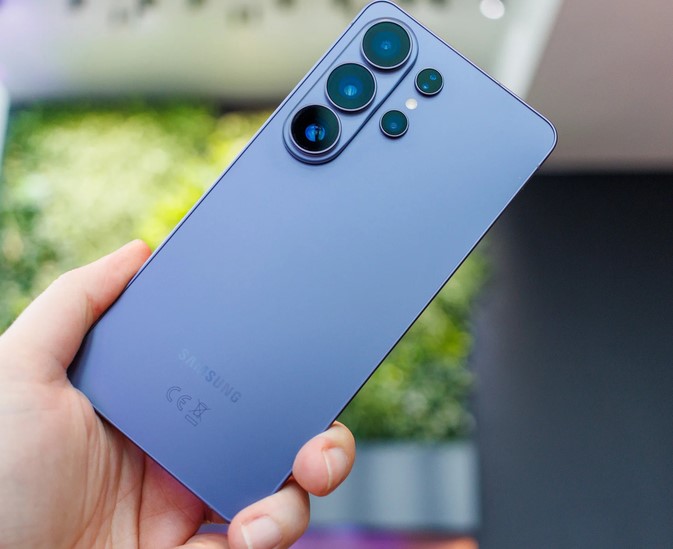
⚠️ The “Ghost” Camera Lens Trap
Be highly skeptical of mid-tier phones boasting four or five individual camera lenses on the back casing. Often, two of those lenses are cheap 2-megapixel “macro” or “depth” sensors added purely so the marketing team can say it’s a quad-camera system. It is always better to buy a phone with two excellent, high-quality sensors than four terrible ones. Focus on main sensors that feature OIS (Optical Image Stabilization) for crisp shots.
Hardware Comparison Matrix: Flagship vs. Mid-Range Realities
| Engineering Metric | $1,200+ Ultra-Flagship Device | Modern Mid Range Smartphones |
| Processor Node | Cutting-edge 3nm architecture | Highly optimized 4nm / 5nm architecture |
| Display Standard | Dynamic LTPO OLED (1-120Hz) | Solid 120Hz AMOLED Panel |
| Primary Camera | Large 1-inch sensor + Periscope Zoom | 50MP/108MP Main Sensor with OIS |
| Chassis Materials | Titanium, Ceramic, Armor Glass | Polycarbonate or standard Gorilla Glass |
| Average Battery Life | 4,500 to 5,000 mAh (1 day use) | 5,000 to 5,500 mAh (1.5 to 2 days use) |
The Bottom Line
Choosing a great mobile device isn’t about displaying your financial status; it is about finding the perfect tool for your daily life. Modern mid range smartphones have conquered the value equation, offering 90% of the premium flagship experience at less than half the total cost. By keeping your focus locked on display fluidity, clean software architecture, and proven battery speeds, you walk away with a reliable powerhouse that keeps your budget completely intact.
What features are absolutely non-negotiable for you when you look for a new smartphone? Let me know your personal preferences and daily dealbreakers in the comments below, and let’s find the exact spec profile that matches your routine!